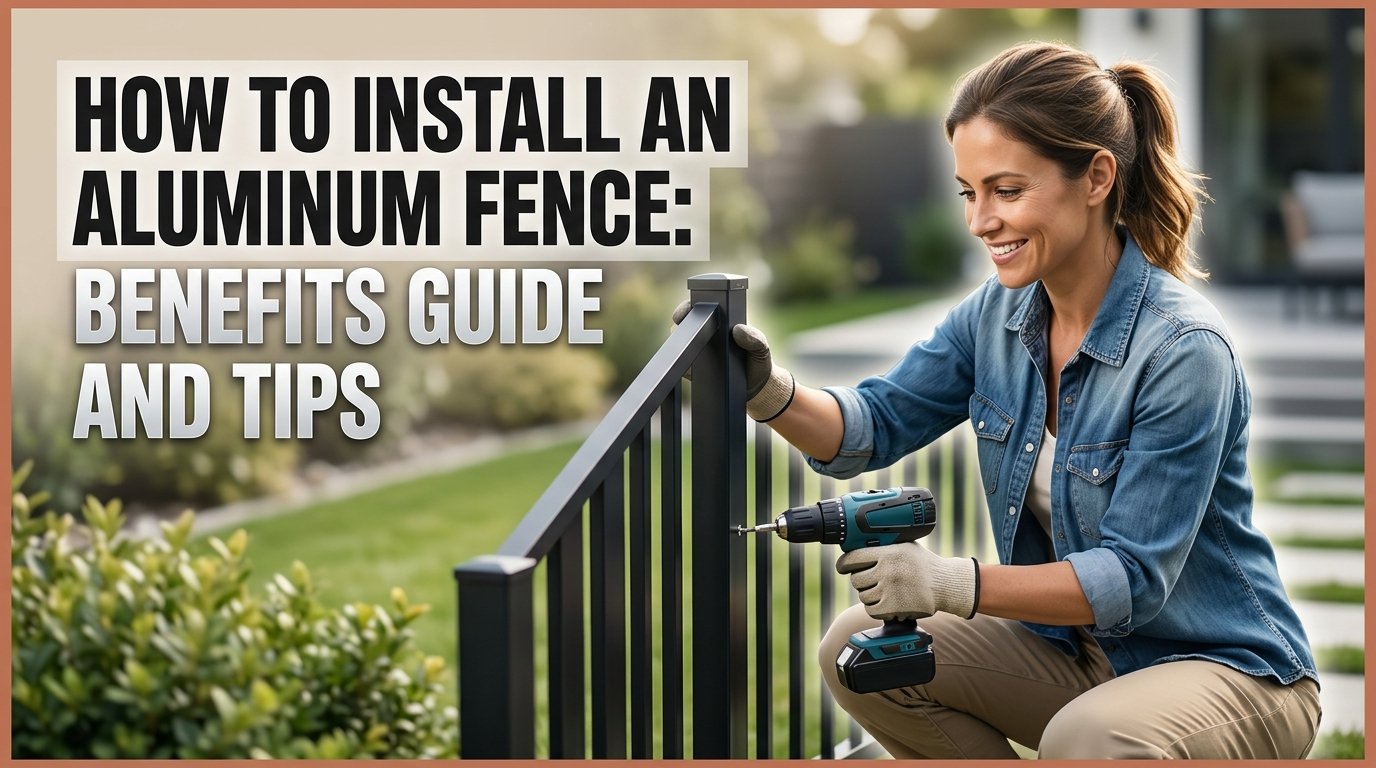
Installing a new fence changes the look of your home instantly. Aluminum fencing is a top choice for many homeowners in Longmont. It looks elegant, lasts a long time, and needs very little maintenance. You don’t need to worry about rust or constant painting. This guide explains how to install an aluminum fence yourself. You will learn everything from planning your layout to securing the final panels. If you live in the Boulder area, this project adds great value and security to your property.
Why Choose Aluminum Fencing for Your Home?
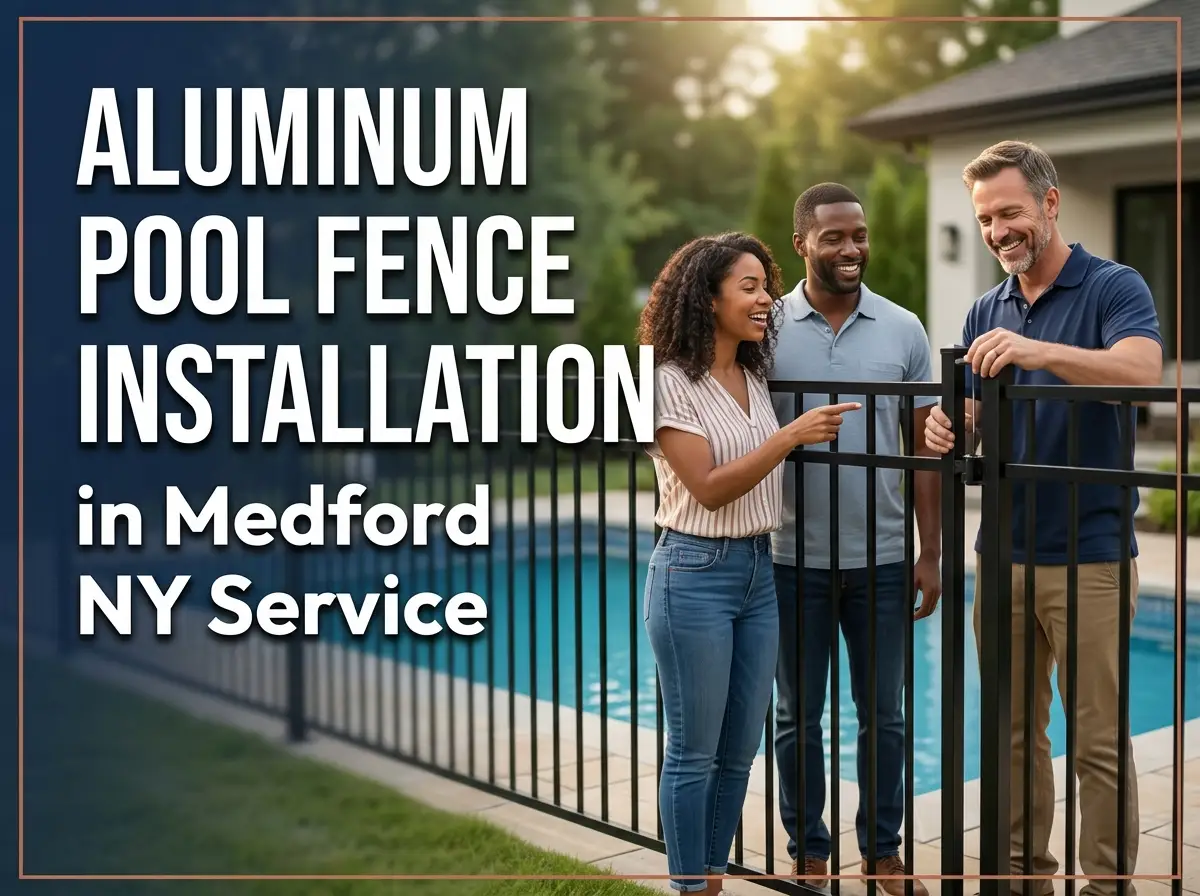
Aluminum fencing offers a unique mix of style and strength. Many people prefer it because it mimics the look of traditional wrought iron without the heavy weight. It is light enough for easy handling during installation but tough enough to handle local weather. You get the classic look you want with almost zero effort later on. It is a smart investment for your backyard.
This material holds up well against the seasons. You won’t face the rotting issues common with wood fences. It also doesn’t warp or twist over time. For busy homeowners, this means more time enjoying your yard. You won’t spend your weekends scraping or staining boards. It provides a clean, modern aesthetic that fits many different home styles perfectly.
What Tools Do You Need for Aluminum Fence Installation?
You cannot start a big project without the right gear. Gather these items before you begin digging holes. Having everything ready saves you multiple trips to the hardware store. You will need a post hole digger or a power auger. A level is essential to keep everything straight. You also need a string line to mark your perimeter accurately.
Grab a rubber mallet to tap pieces into place without damaging the finish. Keep a drill and driver set handy for attaching brackets. You will need concrete mix for setting the posts firmly in the ground. Measuring tape and marking paint are also vital for a precise layout. Having these tools ready makes the process much smoother and faster for you.
How to Plan Your Fence Layout
A good plan is the secret to a professional result. Start by walking your yard to identify property lines. You must know exactly where your land ends before you dig. Use wooden stakes and a string line to outline where the fence will go. This visual guide helps you see if the path is clear. Check for underground utility lines before you break any ground.
Mark the spot for each post clearly with spray paint. Measure the width of your panels carefully to ensure spacing is perfect. Remember to mark where your gate will go. Gates need extra support, so plan for wider or deeper holes there. Taking time here prevents major headaches later. A straight, well-planned line makes the actual installation much easier.
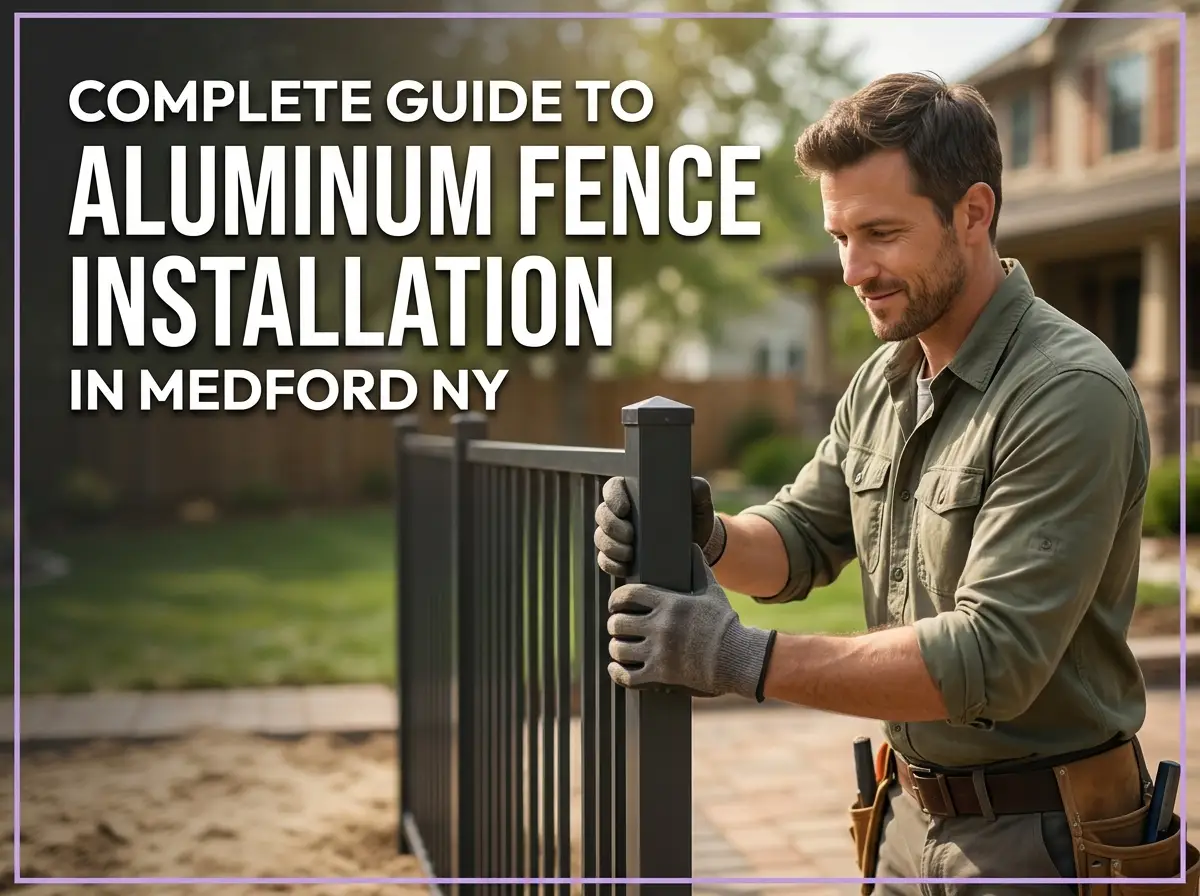
How to Dig and Set Your Posts
Digging is the hardest part of the job. Use your post hole digger to go at least 24 to 36 inches deep. The depth matters for stability, especially if you have high winds. Check local codes in Longmont to see the frost line requirements. A deeper hole keeps your fence standing tall for many years. Make sure the hole is wide enough for the concrete base.
Place the post in the hole and use a level on two sides. You want it perfectly vertical. Pour your concrete mix into the hole around the post. Add water according to the bag instructions. Brace the post with wood scraps so it stays still while the concrete cures. Let it set completely before you try to attach any panels. Patience here ensures a rock-solid fence.
Attaching Panels and Rails
Once the concrete is dry, you can start hanging your panels. This is the fun part where the project takes shape. Slide the rails into the brackets on your posts. Most aluminum systems use a snap-lock design that is very user-friendly. Tap the rails gently with your rubber mallet until they click into place. It should feel secure and tight.
Check the level of every panel as you go. You don’t want a crooked fence line after doing all that work. If the ground is sloped, you might need to “rack” the panels. This means adjusting them to follow the grade of the land. Most aluminum fences are designed to handle slight slopes easily. Secure the brackets with screws to lock everything into place.
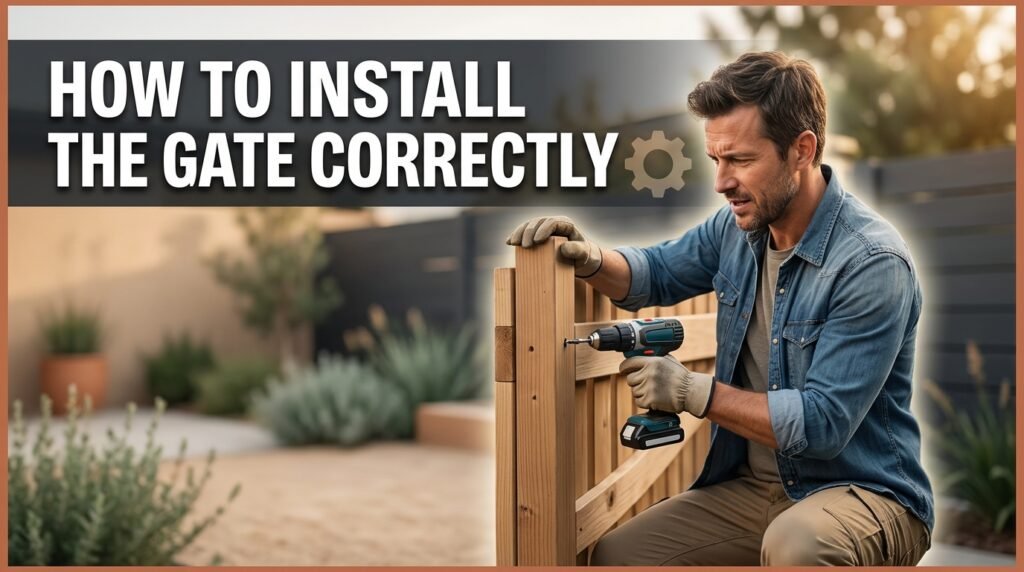
How to Install the Gate Correctly
The gate is the most active part of your fence. It needs to be strong and level to swing properly. Install the gate hinges to the post first. Make sure they are aligned perfectly. If the gate is even a little off, it will drag on the ground. Use heavy-duty hardware that can handle the weight of the gate.
Attach the latch on the other side once the gate is hanging straight. Test the swing several times to ensure it closes smoothly. You might need to adjust the tension on the hinges. A gate that shuts automatically is a great feature for safety. Make sure the latch clicks firmly every time. This step protects your yard and adds a finished look.
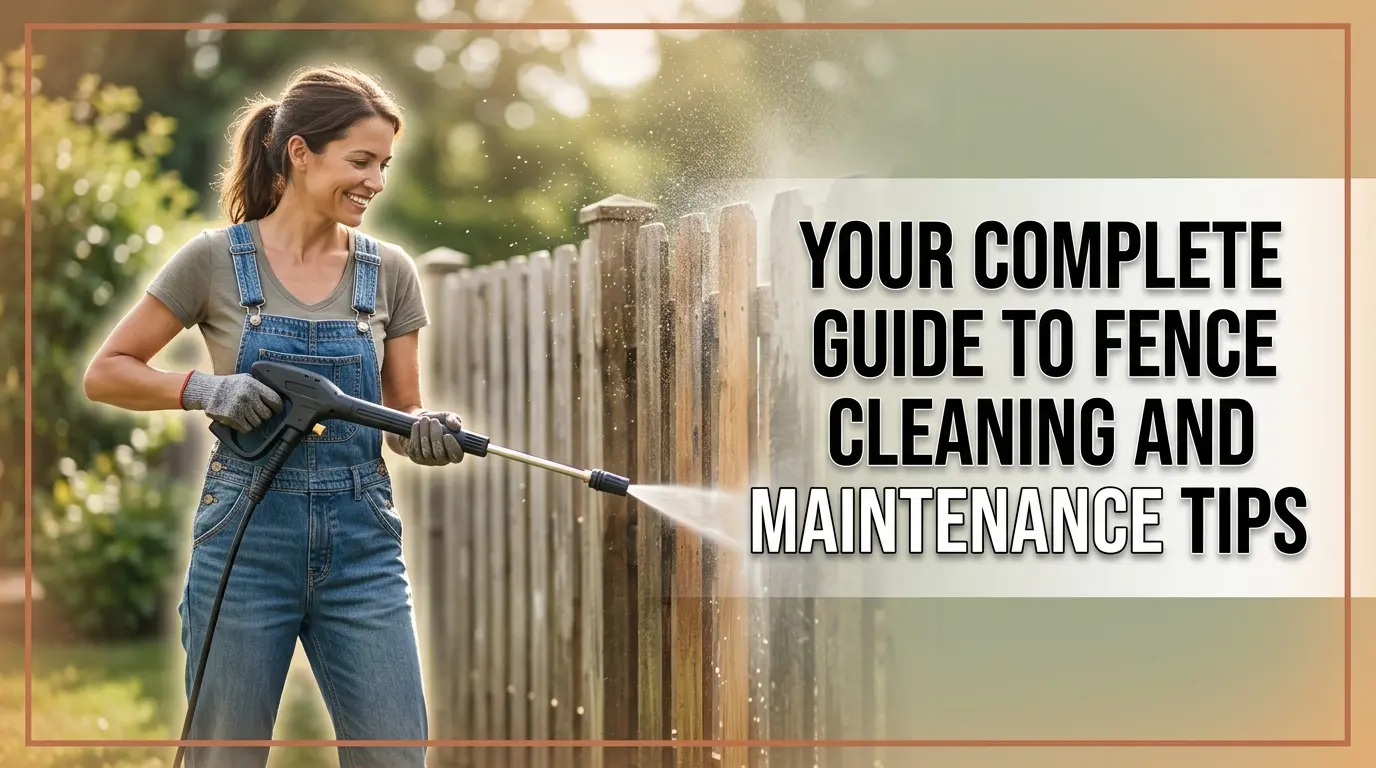
Tips for Maintaining Your Aluminum Fence
Aluminum is famous for being low maintenance. However, a little care goes a long way. Rinse the fence with a garden hose once or twice a year. This removes dust, pollen, and debris that build up. If you notice any stubborn spots, use a soft cloth and mild soap. This keeps the powder-coated finish looking like new.
Check the hardware occasionally to ensure nothing has loosened. Tighten any screws that might have shifted over time. Look at the base of the posts to ensure the concrete hasn’t cracked. Keeping the area around the fence clear of thick vines helps reduce moisture buildup and makes fence cleaning easier over time. These simple habits keep your investment in great shape for decades.
FAQ
Is it hard to install an aluminum fence yourself?
Not at all. If you have basic tools and a bit of patience, it is a very doable project. The panels usually come pre-assembled, which saves a lot of time. The most important step is getting your post layout and depths correct. Once the posts are set, the rest of the job moves along quickly. It is a great way to save on labor costs while getting a high-quality result for your Longmont home.
Do I need a permit to install an aluminum fence in Longmont?
Most areas require a permit for fence installation You should check with your local building department before you start buying materials. They will have specific rules about fence height and placement near sidewalks or streets. Following the rules prevents fines and ensures your fence is legal. It is a simple step that protects your home and avoids future problems with neighbors or the city.
How do I handle slopes in my yard?
Aluminum fencing is great for sloped yards because of its “racking” ability. Racking means the rails can pivot slightly to follow the slope of your ground. You don’t need to cut the panels into steps. Just follow the instructions for your specific fence model to adjust the rails. This creates a smooth, continuous line that looks professional even on uneven terrain.
How long does an aluminum fence last?
Aluminum is one of the most durable materials for fencing. It does not rust, rot, or fade like wood or iron. With a good powder-coated finish, it can easily last 20 to 30 years or more. Because it doesn’t break down, it stays strong through all types of weather. It is a one-time investment that keeps your property looking sharp for a very long time.
Can I install a gate anywhere in the fence line?
You can place a gate wherever you need access. However, you should plan for the gate location before you set your posts. Gate posts often need to be heavier or set deeper to handle the extra weight and movement. Make sure your layout includes enough room for the gate to swing freely without hitting anything. A well-placed gate makes your yard much more functional.